How to fold paper stars
Our holiday boxes contained handmade paper folded stars. We’re really happy you liked them, very grateful to Marie, the Danish roommate for teaching me, and we’re going to do that again next year (I already started folding again).
AND it’s even more fun to create them yourselves. There’s a tutorial up on Instagram—here are some detailed instructions in case you are not an Instagram user or if you just prefer static pages for this kind of thing (I know I do).
First, get a warm drink. Hot chocolate, mulled wine (gløgg) or coffee, whatever! Make sure the lights are set up so that it’s cosy as anything, wear a favorite sweater. Music? Phone a friend? Candles can be tricky if they are too close to the paper folding, but you’re getting the idea, right? Be cozy! Cosy! Whatever.

Useful diagram
Marie left us with this commonly-available-in-Denmark diagram that comes when you buy the paper strips. I can’t read the words but the drawings are useful.
A note about paper. I just buy the paper on Etsy but you can also cut your own, just make long exact strips of paper, any color, maybe 1/2” or 1/4”. Do you want a paper cutting tutorial? I can do that, I went to art school and studied with graphic designers who did things old skool and had knowledge to pass on. But, I am going to assume for now that you know how to cut long strips of paper. No tutorial.
First fold four in half, trim the ends to make a point if you like.
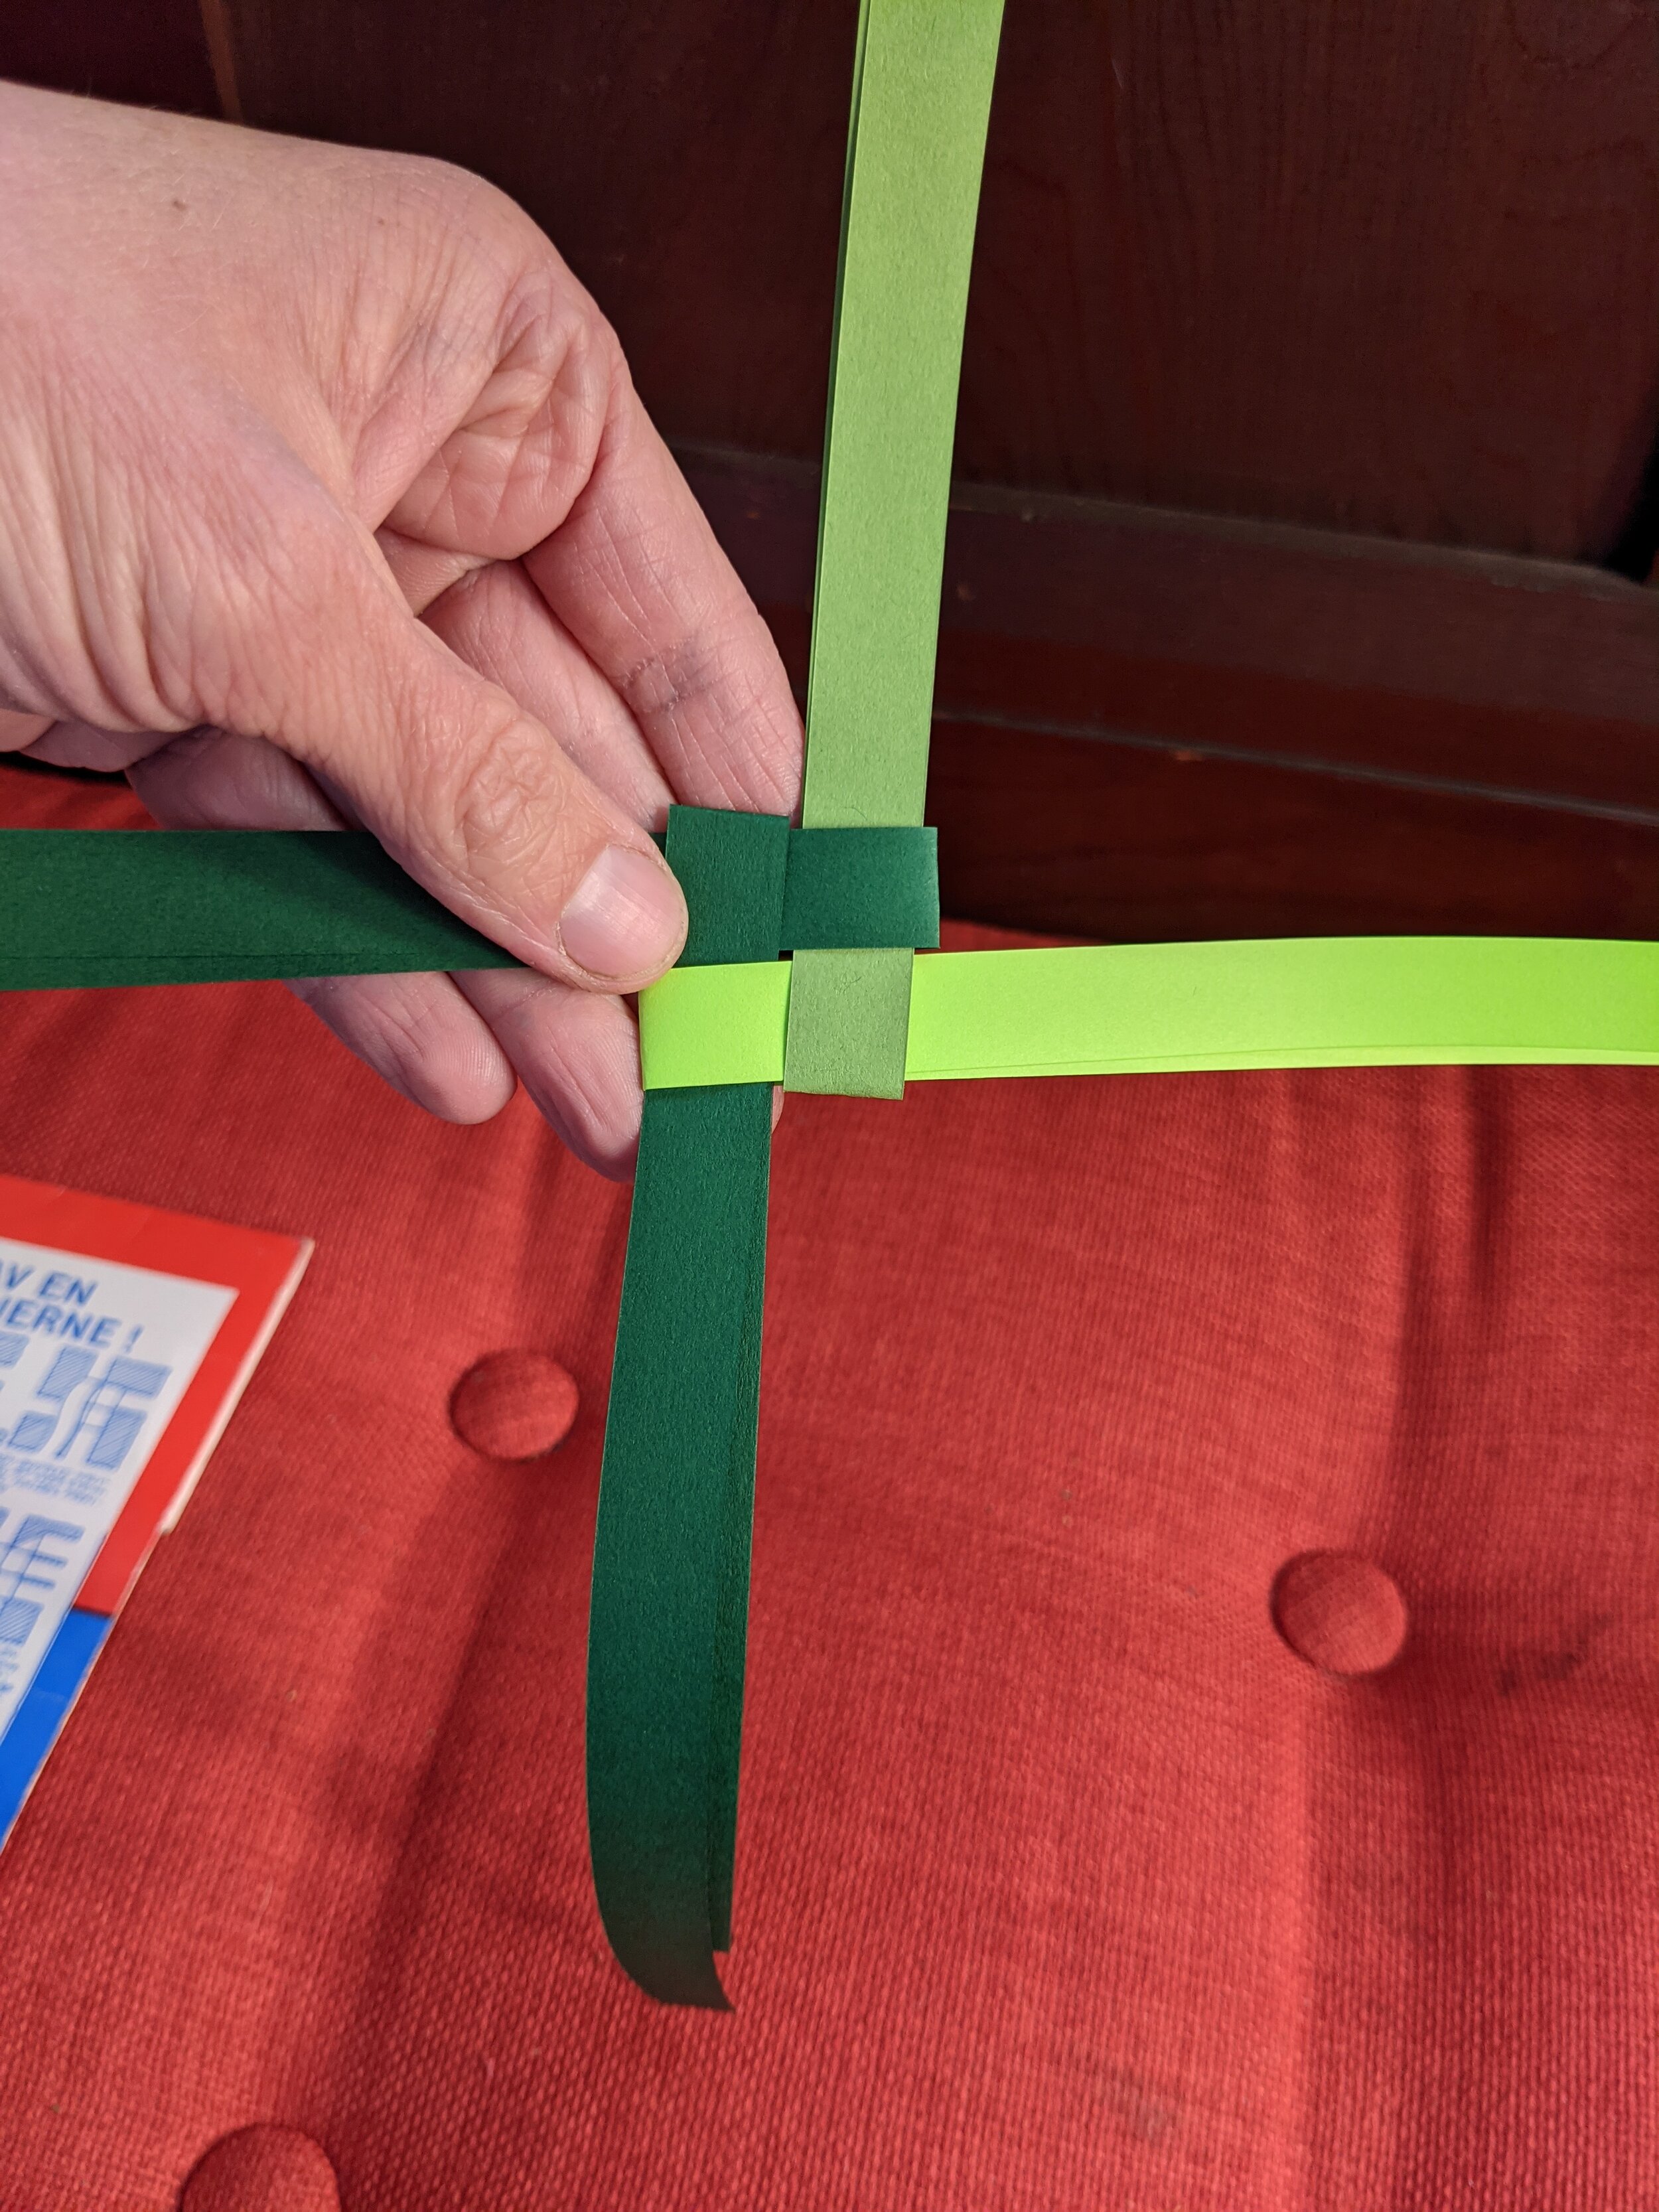
Start placing one strip over the other, going around in a circle starting from the top. Tuck in the last one, around the 3rd and then into the center of the 1st one. Don’t make it too tight but try to keep right angles. Turn over, maybe just for superstition or maybe because it’s actually important—I never tested, I just do it.

Fold over starting from the top left, left bottom, right bottom, right top—into the first one just as you’d done before. Here you can see the pointy trimmed edge I mentioned before. Nice for tucking in. In my own secret language with myself I call the result of this step the ‘pillow’ because once it’s done the paper will stay like this, and it’s a little puffy, like a pillow for a little person who might live on your desk in an imaginary world.

Start making the twists and folds. The first move is a fold back of the top right strip…

...then a quick twist & tuck into the pocket right below the strip. See photo for this one, maybe even the video on instagram, hard to describe. Turn the thing around until all of the strips have been folded & tucked.

Start the center points by folding the top right center piece in & down…

…twist, tuck into the one to the left after lifting up the flap that will be in your way. See video/photos. Keep doing that all the way around, flip over and do the same thing on the other side.

Last step…
Trim the ends of all the papers, and… hopefully you have a star.
The only way these instructions will improve is if you test them and tell me where things don’t make sense, please, do.